Any information contained on this Website is not legal advice and should not be treated as such. You should always contact an attorney for help with your specific legal needs and issues. We may also earn a commission when you click links to our partners and purchase goods or services. For more information, read our Disclaimers Policy.
Why Webflow Blog Tags Transform Your Content Strategy
Webflow blog tags are multi-reference CMS fields that connect your blog posts to specific topics, creating a powerful content organization system that goes far beyond basic categories.
Quick Setup for Webflow Blog Tags:
- Create a dedicated "Tags" CMS collection with Name and Slug fields
- Add a Multi-Reference field to your Blog Posts collection
- Link the Multi-Reference field to your Tags collection
- Assign multiple tags to each blog post for better content findy
- Design tag pages to display all related posts automatically
While many blogging platforms have built-in categories and tags, Webflow requires you to build this functionality using its flexible CMS. This might seem like extra work, but it gives you complete control over how your content connects and displays.
Tags act as a bridge between your content and readers. When someone reads about "Design Tools for UI," they can click tags like "Adobe XD" or "Figma" to find related posts. This keeps visitors engaged longer and helps search engines understand your content's relationships.
The beauty of Webflow's approach is that you're not limited to pre-built solutions. You can create exactly the tagging system your business needs, whether that's simple topic tags or complex taxonomies with colors, icons, and custom fields.
Tags also create dedicated, indexable pages for each topic. This means every tag becomes a potential landing page that can rank in search results, building topical authority for your website.
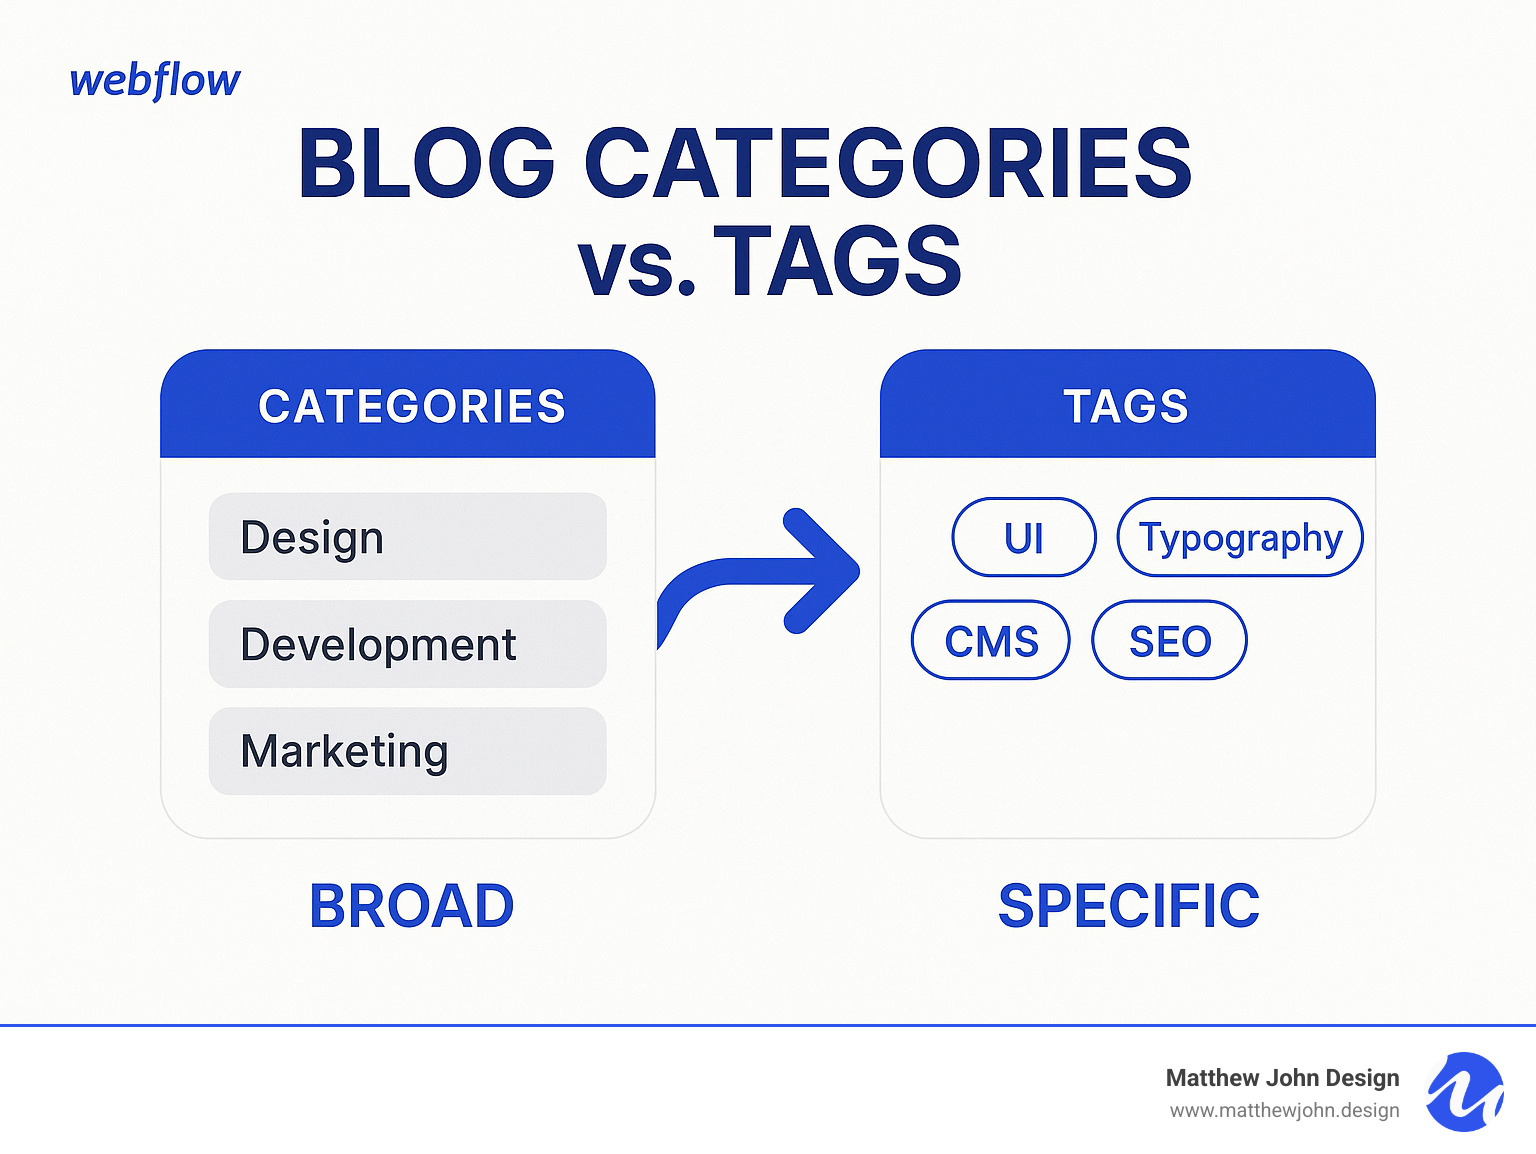
Webflow blog tags terms to remember:
Why Tags are Crucial for Your Webflow Blog
Publishing blog posts without a plan isn't a strategy. Webflow blog tags transform your content from a scattered collection of articles into a well-organized, findable resource that keeps readers engaged and search engines happy.
Think about the last time you visited a blog. You landed on one article, but if it was good, you wanted more. Tags create those "what's next" moments. When a reader finishes your post on "Modern Web Design," they see tags like "Typography," "Color Theory," or "User Experience" inviting them to click.
This simple navigation boost keeps people on your site longer. Instead of reading one post and bouncing, they explore related articles. Search engines notice this behavior. When people spend more time on your site, it signals that your content is valuable and worth ranking higher.
Webflow blog tags also create a web of internal links, helping search engines understand how your content connects. Every tag becomes a pathway guiding readers and search engine crawlers through your expertise. This improved site architecture makes your content more findable and helps establish your authority on specific topics.
Well-implemented tags, a key part of Webflow Blog SEO, can dramatically improve how search engines crawl and index your content, making everything more findable.
Understanding the SEO Impact
From an SEO perspective, each tag creates its own dedicated page that search engines can index. Imagine having a separate landing page for every topic you write about—that's exactly what happens.
For example, a tag called "Webflow Animations" creates a page that becomes a hub for all your animation-related content. Search engines love this organization because it demonstrates topical authority—you're not just mentioning animations once, you're consistently creating valuable content about them.
This approach supports what SEO experts call content clusters. You have your main category pages as pillars, then dozens of specific tag pages as supporting content, all interconnected. Search engines can easily understand the relationships between your posts, helping them match your content to relevant search queries.
The beauty of Webflow's system is that you can set up dynamic SEO settings for these tag pages. As explored in "Is Webflow Good for SEO?," it's possible to automatically generate unique meta titles and descriptions for each tag page. A "Responsive Design" tag page might automatically create a title like "Responsive Design Tips & Tutorials | Your Brand Name"—no manual work required.
Improving the User Journey
Beyond technical benefits, webflow blog tags make your blog more enjoyable to use. Great websites should feel intuitive, and tags are a big part of creating that smooth experience.
Picture someone who just finished your article on user research methods. Instead of hitting the back button, they notice tags like "UX Design," "User Testing," and "Design Process" at the bottom. Each tag is an invitation to dive deeper into topics they're already interested in.
This natural progression from one piece of content to another reduces friction and encourages exploration. When readers can easily find related content, they're more likely to stick around and engage with your expertise.
Webflow Interactive Websites often incorporate tag-driven features like dynamic "Related Posts" sections or filterable content archives. These elements don't just look professional—they actively guide users through your content in meaningful ways.
The result? Visitors spend more time on your site, explore more content, and develop a stronger connection with your brand. That's the kind of user experience that turns casual readers into loyal followers.
How to Build Your Tag System in Webflow CMS
Setting up webflow blog tags might feel different if you're coming from platforms where tags are built-in. Webflow's approach, however, gives you complete control over how your tagging system works and looks.
Webflow's no-code CMS is incredibly powerful. You're building a custom database relationship between your blog posts and tags without writing any code. This same approach is used to build scalable, component-based systems, designed to grow with a content strategy.
You'll create two separate collections—one for posts, one for tags—that talk to each other. A special field connects them, letting each post reference multiple tags. Once set up, content management becomes incredibly smooth.
Step 1: Create a Dedicated "Tags" CMS Collection
First, create a home for all your webflow blog tags. This means setting up a new CMS collection that will store each tag as its own item.
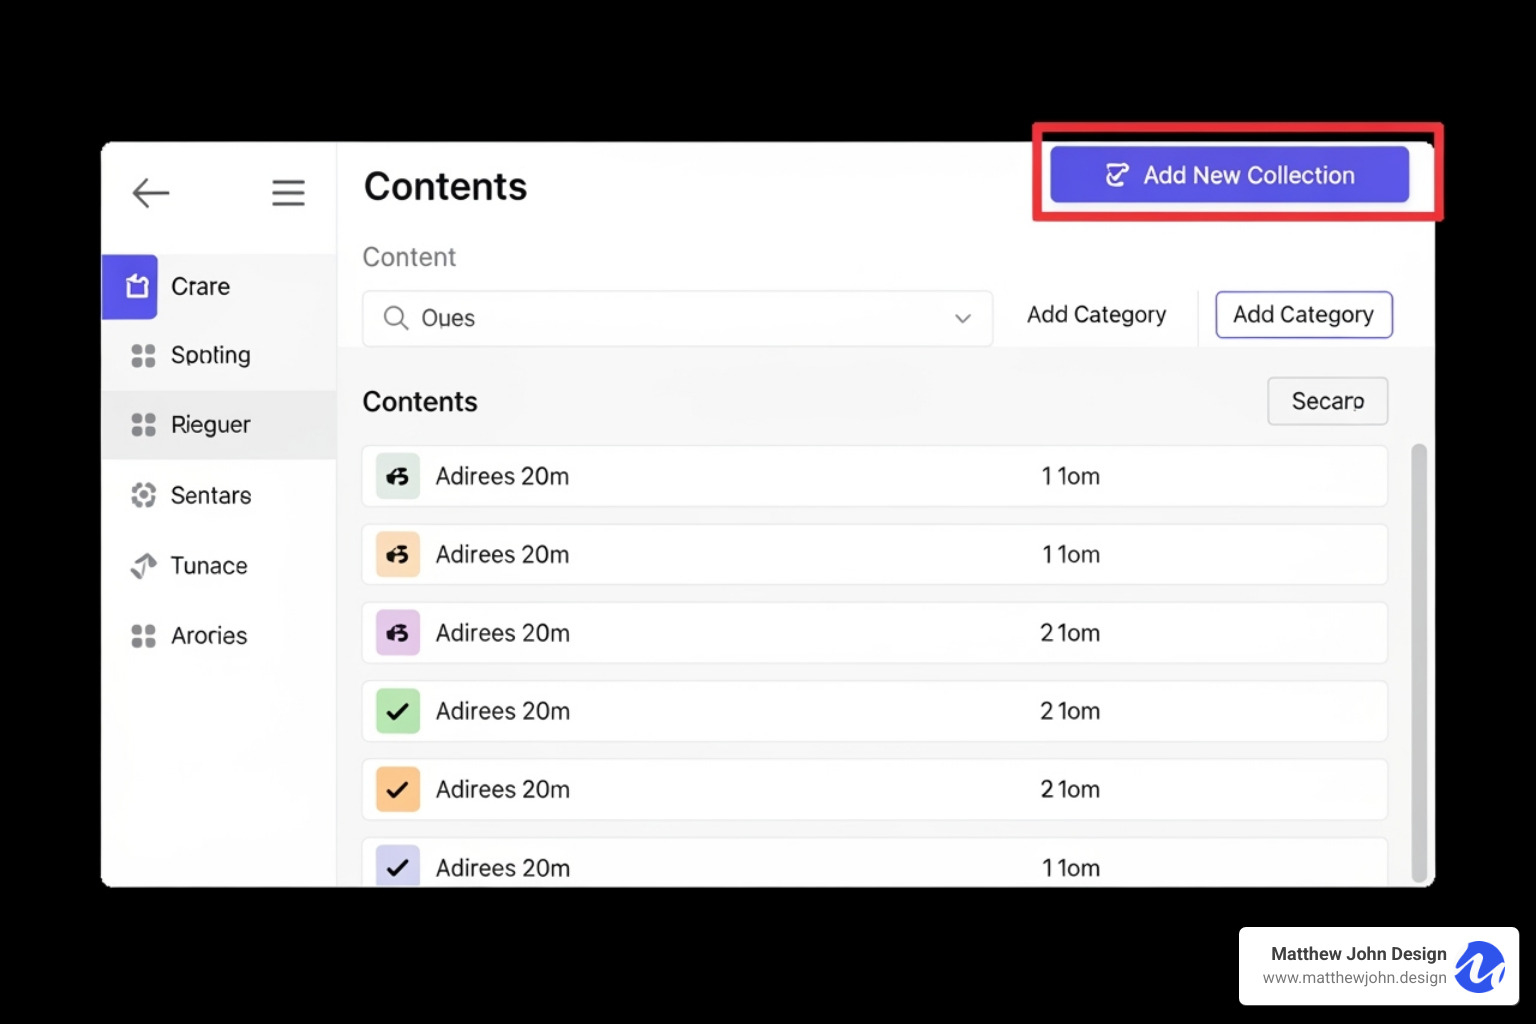
Head to the CMS panel in your Webflow Designer and click "Create New Collection."
Name your collection something clear like "Blog Tags" or "Tags." Webflow automatically creates a URL slug based on this name, which becomes the base URL for your tag pages (e.g., /blog-tags).
Every new collection includes a Name field for the tag name (like "SEO") and a Slug field for the URL-friendly version.
Webflow's flexibility allows you to add custom fields to make your tags more useful. You can add a Color field for visual consistency, an Image field for icons, or a Description field to explain each tag, which adds valuable content to your tag pages for SEO.
This foundation works similarly to how you'd set up Webflow Blog Categories, but the real magic happens when everything is connected.
Step 2: Use a Multi-Reference Field to Connect Tags and Posts
This step transforms your collections into an interconnected content system. The key is the Multi-Reference field, which allows each blog post to connect to multiple tags.
Go to your main "Blog Posts" collection and click "Add New Field." Select "Multi-Reference" from the field types.
When setting up the field, tell it to reference your new "Blog Tags" collection. Name the field something clear like "Tags" or "Related Tags."

Understanding the difference is important: a Reference Field creates a one-to-one relationship (perfect for categories), while a Multi-Reference Field creates a many-to-many relationship, letting each post connect to as many tags as needed.
| Feature | Reference Field (for Categories) | Multi-Reference Field (for Tags) |
|---|---|---|
| Relationship | One-to-one (one post, one category) | Many-to-many (one post, multiple tags) |
| Use Case | Broad grouping like "Marketing" or "Design" | Specific topics like "SEO," "Typography," "Color Theory" |
| Flexibility | Simple but limited | Highly flexible for detailed content organization |
| User Experience | Good for basic filtering | Excellent for content findy and related articles |
This Multi-Reference setup is what makes webflow blog tags so powerful—it mirrors how we naturally think about content, where one article can cover multiple related topics.
Step 3: How to Manage and Assign Webflow Blog Tags
With your collections connected, the final step is creating and assigning tags to posts. This becomes part of your regular content workflow.
First, populate your Tags collection with the tags you want to use. Go to your "Blog Tags" collection and create new items for tags like "Webflow Tips," "Design Systems," or "No-Code Development." Fill in any custom fields you added.
Next, assign tags to your blog posts. Open any blog post, and you'll see your new "Tags" Multi-Reference field. Click it and select all relevant tags from the list.
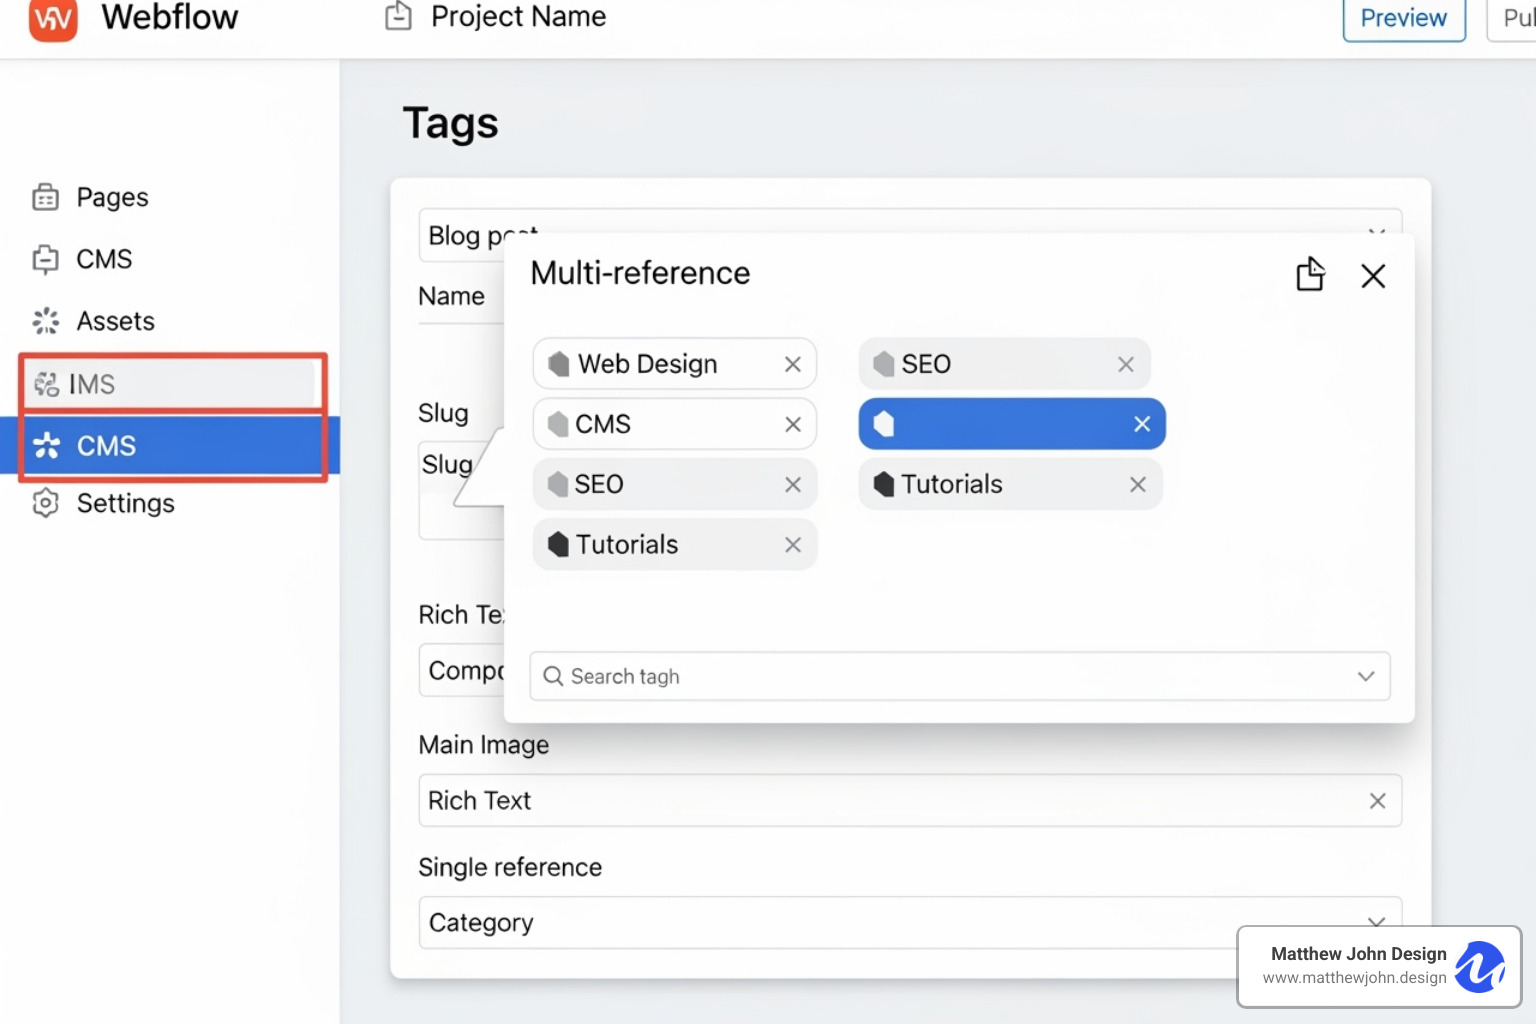
This process quickly becomes second nature. Every time you assign tags, you build connections that power better user experiences and stronger SEO. Readers can easily find related articles, and search engines can better understand how your content fits together.
This system grows with you. As your content strategy evolves, you can add, refine, or reorganize tags. It's a scalable foundation that makes managing a growing blog enjoyable.
Best Practices for Managing and Displaying Webflow Blog Tags
Once your tag system is set up, the real magic is in how you manage and display your webflow blog tags. Effective management keeps your tags clean and useful, while thoughtful design makes them a natural part of the user journey.
An effective approach to building excellent Webflow websites always considers these details because every element should serve a purpose. When done right, your tags become invisible helpers that guide visitors to what they're looking for.
Many blogs start with good intentions but end up with tag chaos. For example, creating both "SEO" and "Search Engine Optimization" tags splits your content across similar topics. This dilutes SEO power and confuses readers.
Naming and Organization Strategies
A successful tag system relies on consistency and clarity. Your tags should feel intentional, not like an afterthought. Treat your tag strategy like brand guidelines, with clear rules and consistent application.
- Keep tags concise and specific. Instead of "Advanced E-commerce Marketing Strategies," use "E-commerce Marketing." Tags should be the keywords people use to search for content.
- Maintain naming consistency. Pick a style and stick with it. If you choose "Webflow," don't later create "webflow." These become separate tags, splitting your content's authority.
- Use singular forms. It's recommended to use "Design Tool" instead of "Design Tools." It's simpler to remember and prevents creating both versions.
- Avoid over-tagging. Aim for three to seven highly relevant tags per post. Each tag should genuinely add value for someone trying to find related content.
- Create a governance document for growing teams. A simple, shared document listing approved tags and naming conventions prevents confusion.
- Perform regular maintenance. Schedule quarterly reviews to merge duplicates, remove unused tags, and ensure your system still serves your content strategy.
Displaying Tags on Your Blog Post Template
Making your webflow blog tags visible and clickable transforms them into navigation aids. The process in Webflow is straightforward.
Add a Collection List element to your blog post template where you want tags to appear, typically at the bottom of the post or in a sidebar.
Connect this Collection List to your Multi-Reference field. In the settings, choose to get items from your Tags Multi-Reference field for the current blog post. This tells Webflow to only show tags assigned to the post being viewed.
Design your tag items to match your site's aesthetic, using simple buttons or pills. You can pull in custom colors from your Tags collection if you added a color field during setup.
Inside each tag item, add a text block connected to the tag's name field. Make each tag clickable by linking it to "Current Tag," which automatically creates links to each tag's dedicated page.
This setup creates an interactive element where users can click any tag to see all related articles. Expertise in Webflow reusable components allows for building these systems efficiently while maintaining consistency across your blog.
Optimizing Your Webflow Blog Tags for SEO
Each tag page is a potential landing page, making webflow blog tags valuable SEO assets when optimized correctly. Treat each tag page like a carefully crafted resource.
- Design your tag collection template page with care. Include a clear H1 that incorporates the tag name (e.g., "Everything About Webflow SEO") and introductory text.
- Use dynamic SEO settings. Set your SEO title to dynamically pull the tag name plus your brand (e.g., "Webflow SEO Articles | Matthew John Design"). Keep titles between 50-70 characters.
- Write compelling meta descriptions that include the tag name and explain the page's value.
- Add unique content to tag pages by including a rich text field in your Tags collection. Writing brief descriptions for each tag provides context and prevents thin content.
- Internal linking flows naturally with a proper tag system. Posts link to tag pages, and tag pages link back to posts, creating a web of connections that search engines love.
The goal is to make each tag page a curated resource hub. This approach aligns with the comprehensive Webflow SEO: 5 Tips strategy, where every page serves both users and search engines.
Frequently Asked Questions about Webflow Tags
Setting up webflow blog tags often brings up questions about implementation and best practices. Here are answers to some of the most common questions.
What is the main difference between a category and a tag in Webflow?
The difference is their scope and how you connect them in Webflow's CMS.
Categories are broad content buckets, like "Web Design" or "Digital Marketing." A post typically belongs to just one category. In Webflow, you implement these using a Reference field, creating a one-to-one relationship.
Tags are specific topic markers that describe a post's details, like "typography" or "UI design." A single post can have multiple tags. For webflow blog tags, you use a Multi-Reference field, which creates a many-to-many relationship and helps visitors explore related content.
Categories organize your content into clear sections, while tags create bridges between them, helping users find connections.
Can I create a page that shows all posts with a specific tag?
Absolutely. This is a powerful feature of using webflow blog tags correctly. When you create a "Tags" CMS collection, Webflow automatically generates a "Collection Template Page" for it.
When someone clicks a tag like "Webflow CMS," they land on a dedicated page (e.g., yourdomain.com/tags/webflow-cms) showing all posts with that tag. It's an instantly organized archive for every topic.
To set this up, go to your Tags Template Page, add a Collection List, and connect it to your "Blog Posts" collection. Then, add a filter to show only posts where the Tags field contains the current tag. Webflow handles the matching automatically.
This creates a filterable archive, making it easy for users to find relevant content and keeping them on your site longer.
Are there any limitations to using tags in Webflow?
While webflow blog tags are powerful, there are a few practical considerations.
The biggest difference from other platforms is that you must build the tag functionality yourself. This isn't a limitation but a feature that gives you complete control over how your tags work and look. The initial setup takes more thought, but you only do it once.
Management is the main ongoing challenge. Without clear naming conventions, you can end up with redundant tags (e.g., "webflow" and "Webflow"). A little planning prevents this.
CMS item limits are a consideration for massive content operations. Each tag counts as a CMS item, but most blogs operate well within Webflow's limits.
Custom features require custom building. A tag cloud, for example, would need to be built using Collection Lists and possibly custom code. Webflow provides the tools, but not pre-built features like this.
The flexibility far outweighs these considerations. A solid strategy makes your tag system a valuable asset for readers and search engines.
Conclusion
Mastering webflow blog tags is about more than just organization. You're building a foundation that transforms how people interact with your blog and how search engines understand your expertise.
Every tag you create becomes a bridge, connecting readers to more valuable content and helping search engines see you as a comprehensive resource on specific topics. Once set up, your tag system works quietly in the background to make your content more findable, keep readers engaged longer, and improve your search rankings.
Webflow blog tags can transform blogs from simple lists into dynamic, interconnected resources. Emphasizing these scalable systems when building Webflow sites is crucial because they grow with a content strategy, serving both readers and SEO goals.
The investment in a thoughtful tagging system pays dividends for years. Your blog becomes easier to manage, your content gets finded more often, and your audience finds exactly what they're looking for.
Ready to take your blog's organization and SEO to the next level? Learn more about our SEO and Content Services and find how we can help you build a Webflow blog that truly works for your business.
.jpg)