Any information contained on this Website is not legal advice and should not be treated as such. You should always contact an attorney for help with your specific legal needs and issues. We may also earn a commission when you click links to our partners and purchase goods or services. For more information, read our Disclaimers Policy.
Why Search Functionality is Essential for Your Webflow Blog
Webflow blog search doesn't come with built-in real-time capabilities, but you have several powerful options to help your visitors find content quickly:
Quick Implementation Options:
- Native Search: Built into CMS plans, uses Elasticsearch, requires manual reindexing
- Jetboost: Real-time search in under 10 minutes, no coding required
- Finsweet Attributes: Free scripts for live filtering and search
- Algolia: Advanced search with typo tolerance and faceted filtering
When visitors can't find what they're looking for on your blog, they leave. Messy, unsearchable content is bad for business, especially for content-heavy sites. A robust search feature is essential when you have dozens or hundreds of posts that users might struggle to find through navigation alone.
Adding search to your Webflow blog can dramatically improve user experience and keep visitors engaged longer. Modern users expect instant results—they want to type a few characters and see relevant blog posts appear immediately, not wait for a page reload. This has made real-time, on-page search a critical feature for successful blogs. Whether you choose Webflow's native search or upgrade to a real-time solution like Jetboost, the right implementation will help your audience find your valuable content.

Webflow blog search glossary:
Understanding Webflow's Native Search Functionality
Webflow's native Webflow blog search is a logical starting point, as it's built into any CMS Site plan or higher without extra fees. It's powered by Elasticsearch, meaning search results are based on relevance, not just random keyword matches.
When you publish your site, Webflow creates an index of your content, including blog posts, page titles, and descriptions. This index is thorough but not instant. The Search Results page is a special utility page created when you add the search element. You have complete design control over this page, allowing you to customize result snippets and connect CMS fields for richer displays.
However, there's an indexing delay. Content on a CMS Site plan is reindexed 72 hours after publishing changes, while Business plan users get a faster 12-hour turnaround. You can also trigger manual reindexing—once daily on CMS plans, twice on Business plans. This delay means new blog posts won't appear in search results immediately, which can be frustrating for active blogs.
Fortunately, Webflow's search integrates well with its strong SEO features. As we discuss in our guide on Is Webflow Good for SEO?, the platform's clean code and solid SEO controls work together effectively.

How to Set Up and Customize Native Search
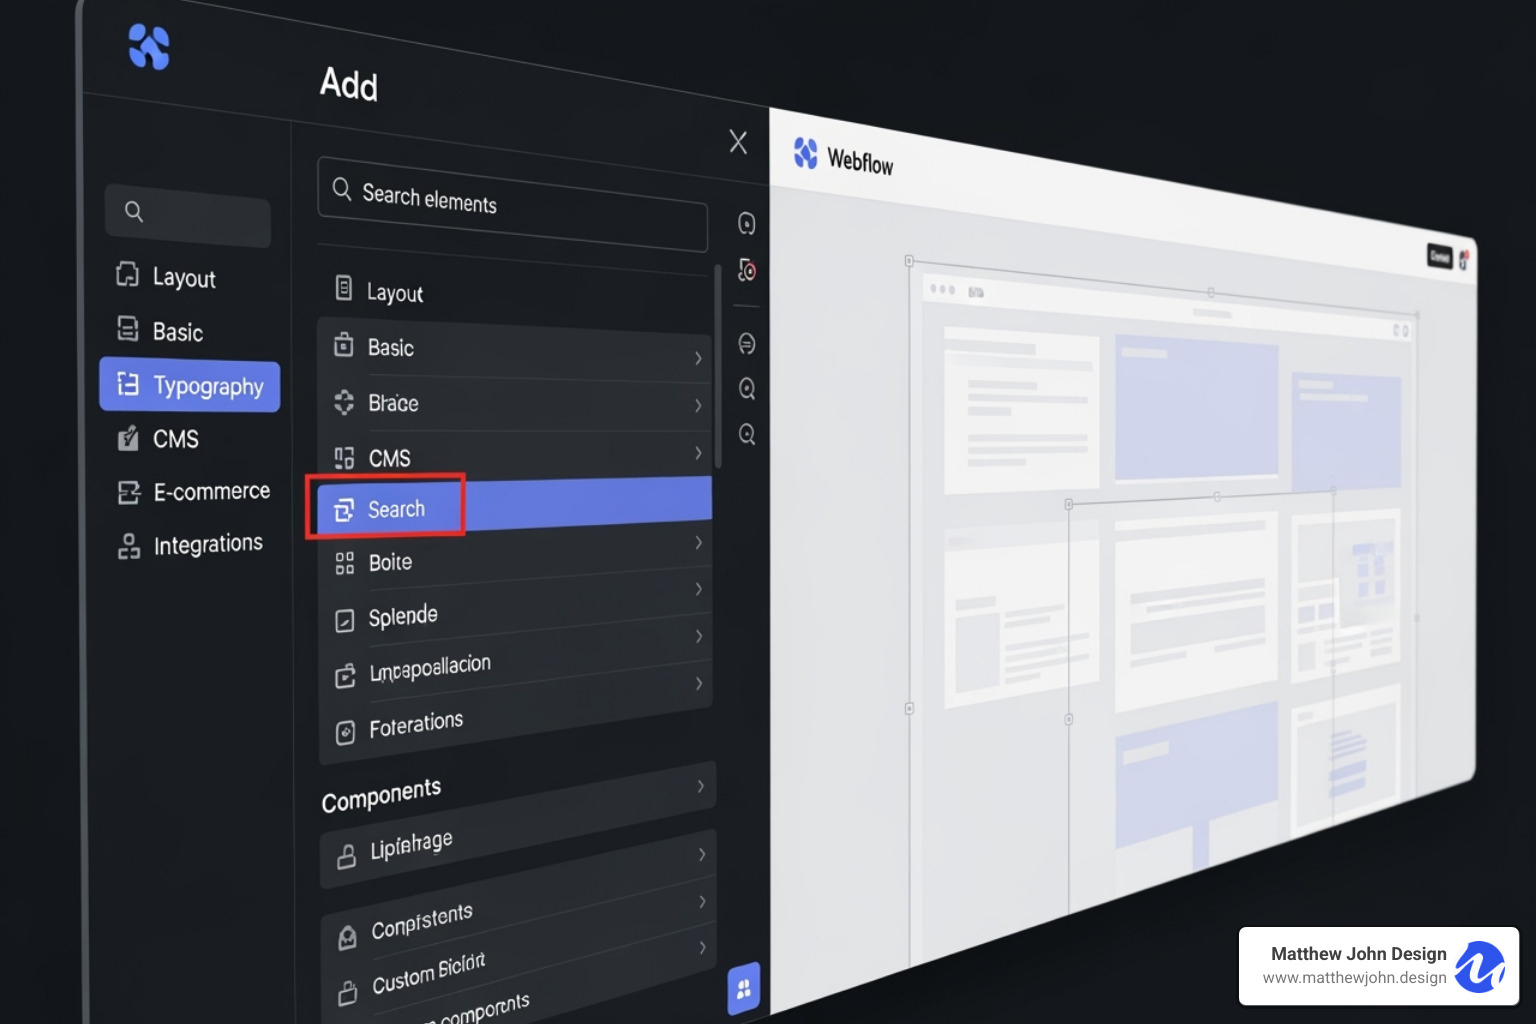
Setting up native search is simple. Drag the Search element from the Add panel onto any page. Webflow automatically creates your Search Results page. The search bar is a form element you can style to match your brand, adjust typography, and customize the button. You can even set it to autofocus.
The Search Results page contains a Collection List that populates with results. You can design this list with simple text links or image-rich cards. Each result can display custom titles and descriptions from your page settings, giving you a chance to write search-specific copy to grab a visitor's attention.
You can also control what gets indexed. Exclude navigation menus, footers, or specific utility pages from search results to keep them clean and relevant.
For step-by-step instructions, check out the detailed Site search guide on Webflow University.
Pros and Cons of Native Webflow Blog Search
Native Webflow blog search has clear trade-offs. Its strengths are compelling: it's cost-effective (included with hosting), seamlessly integrated, and offers high design flexibility for the search bar and results page. The site-wide indexing is also handy for helping visitors find content beyond your blog.
However, the limitations are significant. The lack of real-time results is the biggest drawback, as users must hit Enter and wait for a page reload. Indexing delays (12-72 hours) mean your newest content is invisible to search for a while, and manual reindexing limits don't offer much of a workaround. The CMS collection filtering is also basic, and the functionality is not exportable with your code.
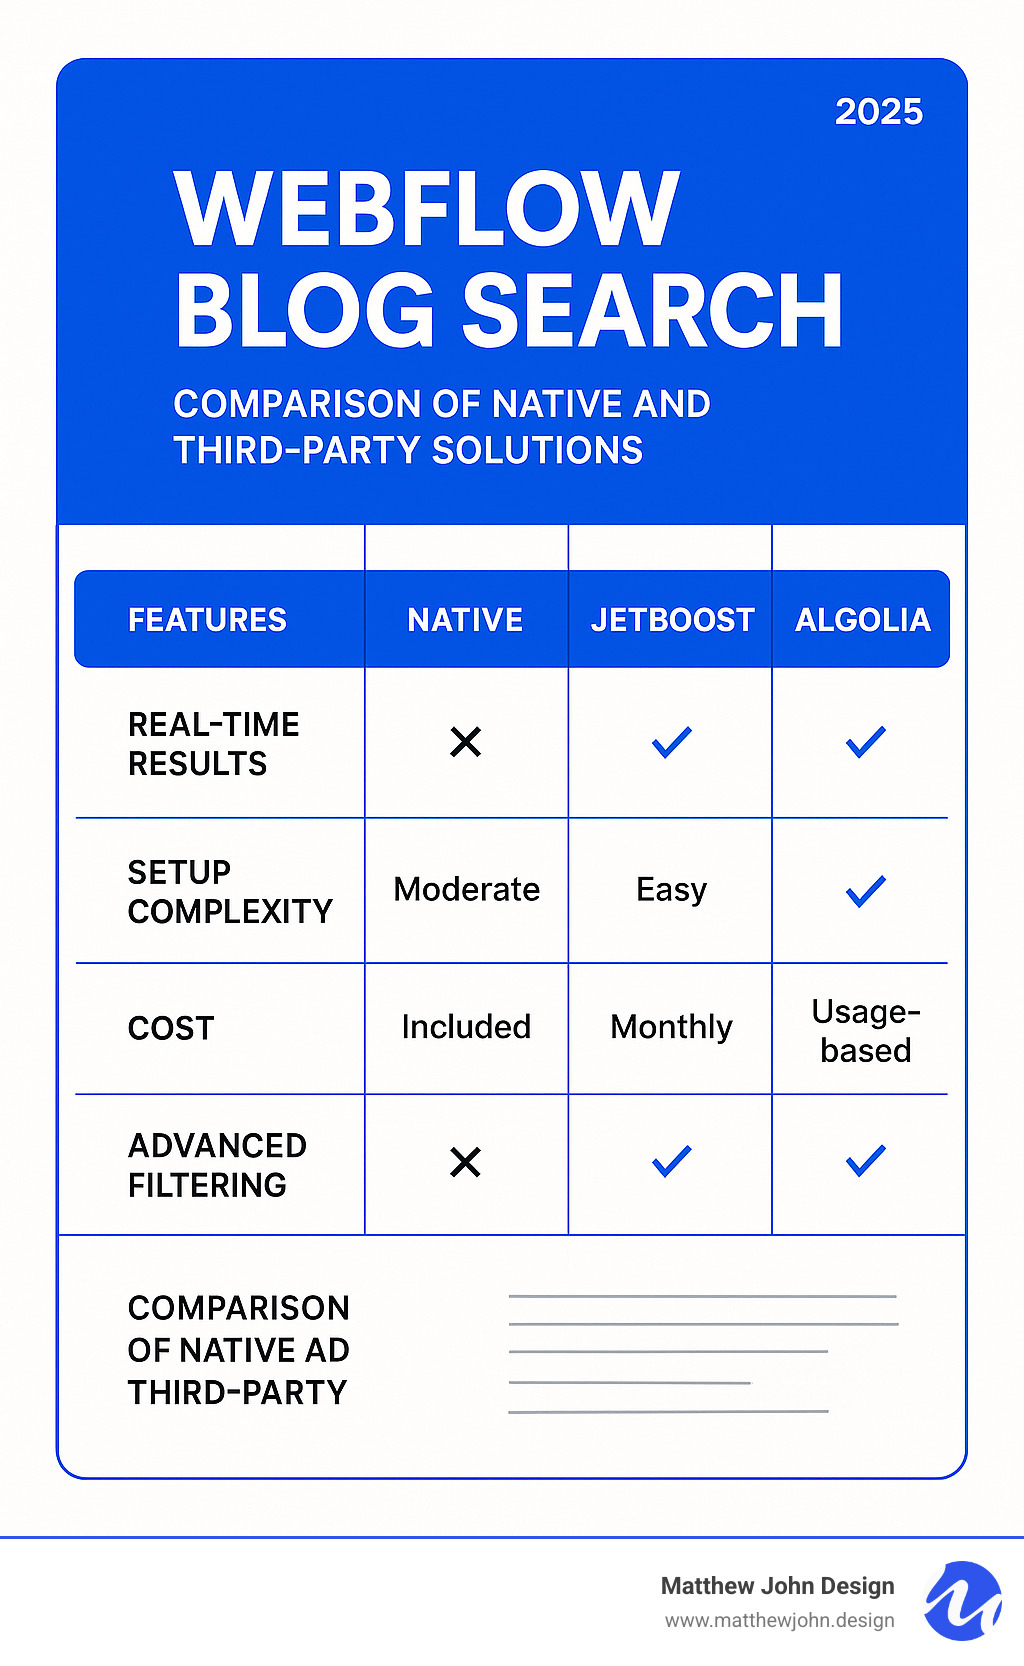
| Feature | Native Webflow Search | Third-Party Tools (e.g., Jetboost, Algolia) |
|---|---|---|
| Real-Time Results | No | Yes |
| Indexing Speed | Delayed (hours/days) | Instant/Real-time |
| CMS Collection Filtering | Limited | Advanced (multi-filter, hidden fields) |
| Setup Complexity | Low | Moderate to High (depending on tool) |
| Cost | Included with CMS/Business Plan | Additional Subscription |
| Customization | High (UI) | High (UI & Logic) |
| Searchable Fields | Displayed content | Any field (even hidden) |
| Exportable | No | Yes (often via custom code) |
For many blogs, native search is sufficient. But if you need an instant, modern search experience, you'll want to explore real-time solutions.
Elevating Your Search: Real-Time and Advanced Solutions
While Webflow's native search is functional, many blogs outgrow its limitations. When visitors expect instant results, it's time to explore Webflow blog search solutions that deliver real-time performance.
Real-time search transforms the user experience. Instead of typing, hitting enter, and waiting for a page reload, users see relevant blog posts appear instantly as they type. This immediate feedback keeps visitors engaged.
These advanced solutions connect to your Webflow CMS via APIs and JavaScript, allowing them to search deeper, filter by multiple criteria, and even find information in hidden fields. This intelligent matching is a core part of creating excellent user experiences, which we explore in our guide on the 5 Elements of User Experience.

Using No-Code Tools for Instant Search
You don't need to be a developer to implement professional-grade search. Tools like Jetboost have revolutionized adding advanced features to Webflow sites.
Jetboost's "Real-Time, On-Page Search" filters your existing blog collection on the page as users type. It can search through all your CMS collection items by tapping into Webflow's API, including any field in your CMS—even hidden ones like internal tags. The multi-collection search feature is also useful, allowing a single search bar to query blog posts, case studies, and other content types simultaneously.
Setting up Jetboost requires no custom code. The platform handles the technical complexity, and you can have advanced search running in under 10 minutes. See how it works with their live demo.
Implementing Advanced Search with Algolia
For the best possible search experience, Algolia is the gold standard for Webflow blog search, bringing enterprise-level capabilities to your blog.
Faceted search allows visitors to refine results by multiple categories at once. Its typo tolerance is smart enough to understand what users meant to type, preventing simple spelling mistakes from hiding good content. Predictive search can suggest queries and display instant results as users type.
However, Algolia requires more technical implementation. You'll need to sync your Webflow CMS data with Algolia's index, which typically involves custom scripts or automation tools. The front-end integration also requires JavaScript knowledge. Unlike Jetboost, which stays synchronized automatically, Algolia requires you to manage data updates and index maintenance.
For sites with massive content libraries or complex filtering needs, Algolia's power justifies the complexity. You can explore implementation examples on the Webflow-Algolia GitHub repository.
Step-by-Step: Adding Real-Time Search with Jetboost
For a powerful yet easy-to-implement real-time solution for your Webflow blog search, Jetboost is an excellent no-code choice. The process is simple: set up an account, add a "booster," configure it for your blog posts, and connect it to your Webflow project.

Jetboost handles the technical complexity, so you don't need to understand APIs or write JavaScript. Just follow their instructions and add the right classes to your elements.
Step 1: Configure the Jetboost Booster
First, set up your Jetboost account at Jetboost.io and connect your Webflow site to your dashboard. Next, add a "Real-Time, On-Page Search" Booster. This booster is designed specifically for CMS collections.
In the configuration, select your "Blog Posts" CMS collection. Then, define which fields Jetboost should search, such as "Name" and "Main Content," or even hidden fields like "Tags." Choose between "Flexible" or "Exact" matching—flexible is usually better for blogs as it's more forgiving with typos. You can also add the search query to the URL to allow users to share or bookmark search results.
Step 2: Integrate the Script and Classes in Webflow
Jetboost provides a custom JavaScript snippet for your setup. In Webflow, go to Project Settings > Custom Code and paste it into the "Head Code" section. This script enables the real-time functionality.
Next, configure your CMS Collection List. On your blog page, select the "Collection List Wrapper" and add the custom attribute provided by Jetboost (e.g., jetboost-list with a unique ID). Inside each "Collection Item," add an Embed element with another small code snippet from Jetboost.
To create your search input bar, add a Webflow "Form Block" with a "Text Input" field. Apply another custom attribute to this input field using the same unique ID as your list. The search works in real-time, so a submit button is optional.
For a better user experience, add an empty state message (e.g., "No posts found") by adding a div inside your Collection List with the custom attribute fs-cmsfilter-element set to empty.
Finally, test and publish. Real-time search doesn't work in the Webflow Designer preview, so publish to a staging environment to test before going live.
This approach creates a powerful search experience while maintaining scalability. For more on building efficient sites, see our guide on Webflow Reusable Components.
Best Practices for Search Bar and Results Page Design
A technically sound search is only half the battle; it must also feel intuitive. Great search design isn't just about aesthetics—it improves user engagement, reduces bounce rates, and can even boost your SEO rankings by signaling to search engines that your content is valuable and well-organized.
Your search needs to work flawlessly across all devices while maintaining your brand's look and feel. This is where thoughtful UI and UX best practices are essential.

Designing an Intuitive Search Input
Your search bar should be immediately obvious and easy to use.
- Placement: The most effective locations for a Webflow blog search are in the main navigation, header, or a prominent hero section. Avoid burying it in a sidebar or footer.
- Placeholder Text: Use specific text like "Search blog posts..." instead of a generic "Search" to guide users.
- Visual Cues: Include a magnifying glass icon, ensure high contrast, and make the input large enough for mobile. A clear button (an "X") lets users easily start a new search.
- Autofocus: On a dedicated search page, consider using autofocus to place the cursor in the search field automatically.
Creating a User-Friendly Search Results Page
Your results page determines if your search was helpful. Present content in the most useful way possible.
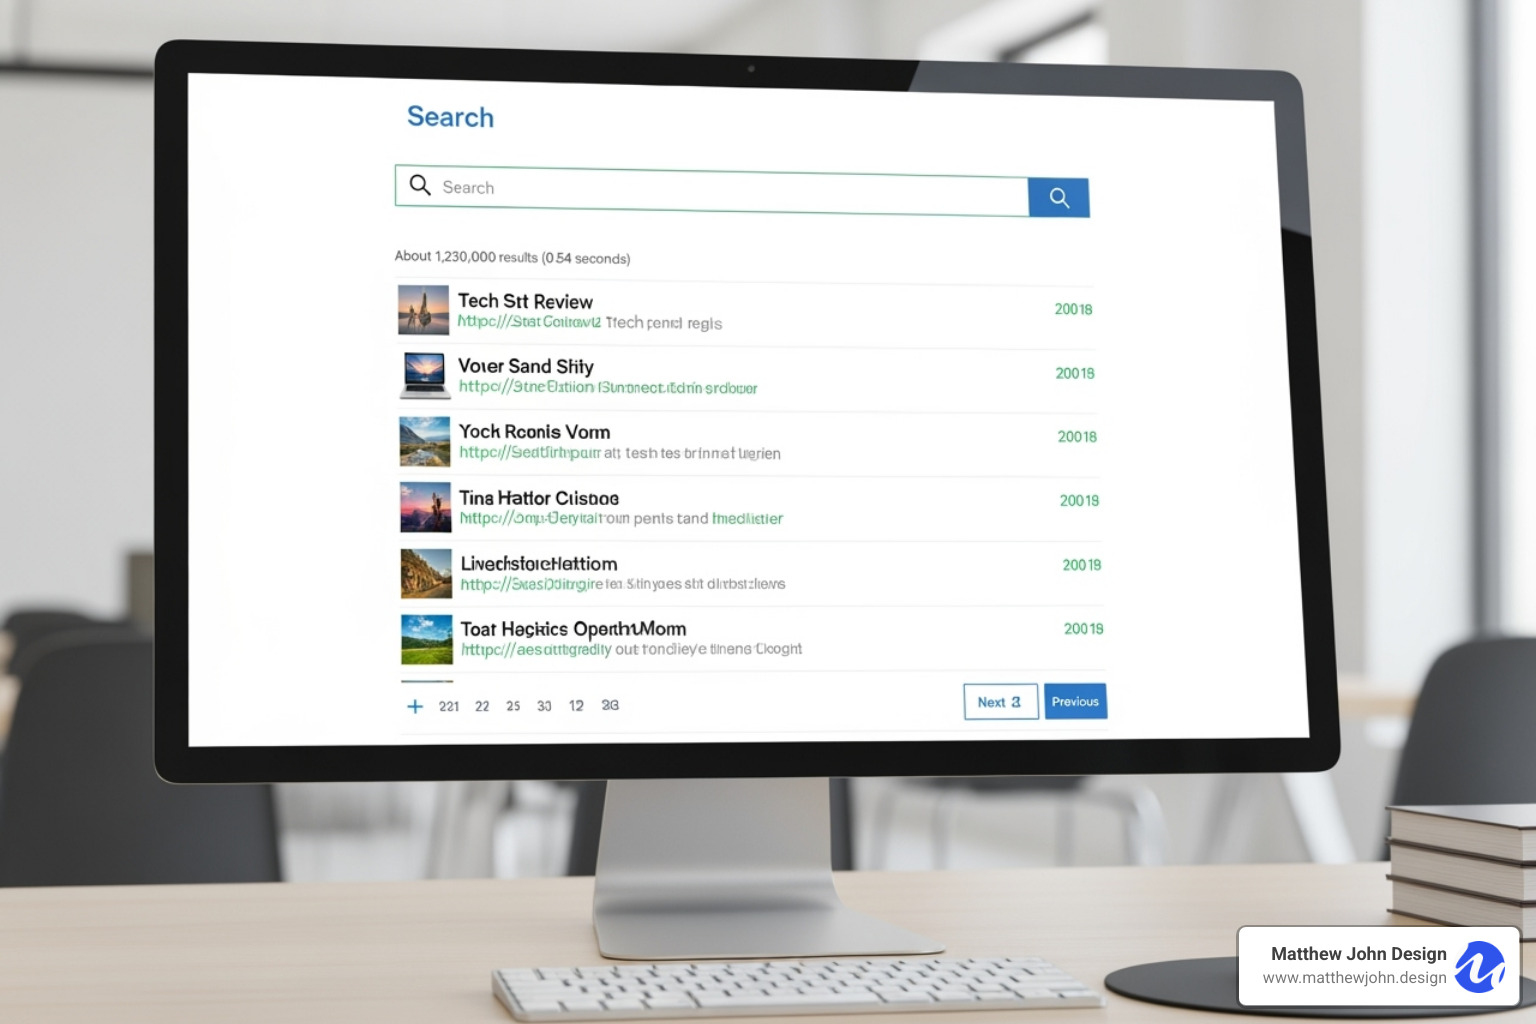
- Result Snippets: Each result needs a compelling title and a brief description. Webflow lets you customize these for better relevance.
- Images: Display small thumbnails next to text results to make them more engaging and scannable.
- "No Results" State: Instead of a blank page, show a helpful message. Suggest popular posts, related terms, or links to main categories.
- Mobile Responsiveness: Ensure the search bar, results layout, and pagination work seamlessly on all devices.
- Pagination: Organize numerous results into smaller, digestible pages to improve the browsing experience.
For more insights on creating high-quality Webflow sites, check out our guide: How to Build Excellent Webflow Websites.
Frequently Asked Questions about Webflow Blog Search
Here are answers to the most common questions we receive about Webflow blog search.
How can I track what users are searching for on my Webflow blog?
Understanding what people search for provides direct insight into your audience's needs. The best method is to connect your search to Google Analytics.
By setting up Site Search Tracking in your GA4 dashboard and defining the search query parameter, you can capture internal search data. This will show you:
- Most frequent search terms: A goldmine for future blog topics.
- "No results" searches: These highlight content gaps on your site, telling you what to write next.
- Post-search behavior: See if users click through or bounce, helping you gauge the usefulness of your results.
Ensure you've properly set up Google Analytics for Webflow, too, as the old Universal Analytics is no longer sufficient.
What happens to search functionality if I export my Webflow code?
Webflow's native site search completely stops working when you export your code. The feature is deeply tied to Webflow's backend infrastructure and servers, which are left behind during an export.
If you plan to export your code, use a third-party solution like Jetboost or Algolia from the start. These tools maintain their own infrastructure and will continue to work as long as their scripts are included in your exported site. We always discuss long-term hosting plans with clients to choose the right search solution upfront.
How do I exclude specific pages or elements from the search index?
Clean, relevant search results are essential for a good user experience. Webflow provides granular control over what gets indexed.
- Exclude Pages: In the Page Settings for any static page (like About or Contact), check the box to exclude it from site search results.
- Exclude CMS Collections: You can exclude an entire collection template (e.g., team member profiles) to remove all its generated pages from the search.
- Exclude Elements: To prevent navigation bars, footers, or sidebars from cluttering results, select the element in the Designer, go to Element Settings, and exclude it from search. This also applies to all child elements.
Properly setting up these exclusions ensures your Webflow blog search focuses on your actual content, providing a better experience for your users.
Conclusion
A well-implemented Webflow blog search transforms your site into an interactive, user-friendly resource that keeps visitors engaged. When users can find what they need quickly, they stay longer and are more likely to convert.
Webflow's native search is a solid starting point, but real-time solutions like Jetboost deliver the instant results modern users expect. For sites with complex needs, Algolia offers the most power, though it requires more technical expertise. The right choice depends on your blog's scale, technical comfort, and growth plans.
At Matthew John Design, we specialize in building Webflow sites with scalable component-based systems that empower marketing teams. Improved search functionality is a key piece of creating websites that serve business goals. Every visitor who can't find what they're looking for is a missed opportunity.
Investing in robust search respects your audience's time and creates clear pathways to your best content. The most important step is getting started.
Ready to take your blog's search capabilities to the next level? We're here to help you create engaging, findable content that drives real business results.

.jpg)