Skip to Menu
Enter
Skip to Content
Enter
Skip to Footer
Enter

Webflow Blog Pagination: A Step-by-Step Guide to Seamless Scrolling

Note

Any information contained on this Website is not legal advice and should not be treated as such. You should always contact an attorney for help with your specific legal needs and issues. We may also earn a commission when you click links to our partners and purchase goods or services. For more information, read our Disclaimers Policy.

Note: This article is pending editorial review.

Why Webflow Blog Pagination Matters for Your Website

Webflow blog pagination is essential for managing large blog collections and improving user experience on content-heavy websites. Here's what you need to know:

Quick Implementation Guide:

  1. Native Method: Check "Paginate items" in Collection List settings
  2. Advanced Method: Use Finsweet Attributes for load more/infinite scroll
  3. Custom Method: Implement PJAX for seamless page transitions
  4. SEO Setup: Add rel="next" and rel="prev" tags for search engines

When a blog grows beyond 20-30 posts, pagination becomes crucial. Otherwise, visitors face endless scrolling, which hurts both user experience and website performance.

The core benefits are clear:

  • Faster page loads by limiting items displayed per page
  • Better navigation through organized content chunks
  • Improved SEO with unique URLs for each paginated page
  • Improved user engagement by reducing cognitive overload

Webflow offers three main approaches: native, advanced, and custom. The native system provides basic previous/next buttons with full page reloads. Advanced solutions use third-party attributes for load more buttons, infinite scroll, and numbered pagination. Custom code creates seamless transitions without page refreshes.

The key difference is user experience. Native pagination reloads the page, jumping users to the top and disrupting their flow. Advanced methods maintain scroll position by loading content dynamically, creating a smoother experience that keeps visitors engaged.

Infographic showing the difference between native Webflow pagination with full page reload versus seamless pagination that maintains scroll position and loads content dynamically without refreshing the entire page - webflow blog pagination infographic 2_facts_emoji_light-gradient

Webflow blog pagination terms made easy:

Mastering Webflow's Native Pagination System

Let's start with Webflow's built-in pagination system. It's easy to use and perfect for managing Webflow Content Management System content by spreading items across multiple pages.

Webflow Designer UI showing the "Paginate items" checkbox in the Element Settings Panel - webflow blog pagination

To enable it, select a collection list, go to the Element Settings panel, and check the "Paginate items" box. Your content will now be organized across pages.

Once enabled, use the "Items/page" slider to set how many items appear per page. Webflow limits this to 100 items to ensure fast page loads. To display more than 100 items from a collection, you must use pagination, with each page capped at 100 items for optimal performance.

When pagination is on, Webflow automatically adds 'Previous' and 'Next' buttons. These are housed in a 'pagination wrapper' that Webflow creates around your collection list.

How to Style Native Pagination Buttons
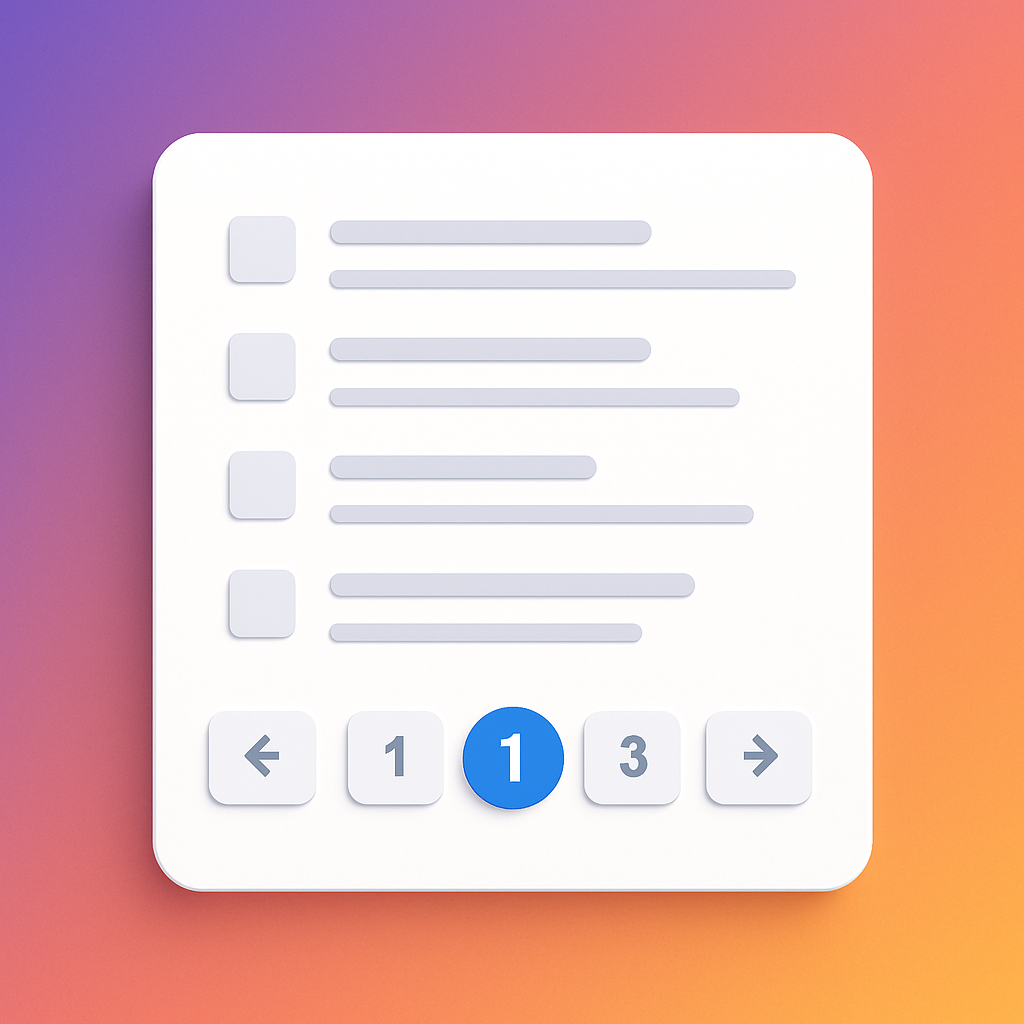
Webflow's design capabilities extend to pagination. The automatically generated 'Previous' and 'Next' buttons can be styled to match your site's design.

To customize them, select the pagination wrapper in the Navigator panel. From there, you can select the individual 'Previous' or 'Next' link blocks and use the Style panel to change their background colors, text styles, borders, and hover states.

You can also customize the button text or replace it with icons. Simply drag an image or SVG icon into the link block and adjust its size.

For consistency across a busy blog or multiple collection lists, consider turning your styled pagination buttons into Webflow Reusable Components. This saves time and keeps your branding sharp.

The Pros and Cons of Native Webflow Blog Pagination

While Webflow's native pagination is great for getting started, it's important to understand its strengths and limitations for your Webflow blog pagination.

FeatureNative PaginationAdvanced (Finsweet/Jetboost)
Page ReloadFull page refreshNo page refresh (seamless)
UXDisrupts scroll positionMaintains scroll position
SEO ControlUnique URLs, basic indexingImproved indexing, dynamic URLs
Implementation EffortEasy, no-codeModerate (attributes/scripts)

Pros of Native Pagination:

  • Simplicity: It's incredibly simple to set up with just a few clicks. This makes it a perfect, quick no-code setup for basic pagination.

Cons of Native Pagination:

  • Full page reloads: The biggest drawback is full page reloads. Each click on 'Next' or 'Previous' refreshes the page, sending the user back to the top. This disrupts user scroll position and creates a choppy, frustrating experience.
  • Limited to "Previous/Next" buttons: You're also limited to 'Previous/Next' buttons. There are no page numbers displayed natively, making it difficult for users to jump to a specific page or gauge the size of the archive.

For basic blogs, native pagination is sufficient. However, for a seamless, modern user experience, you'll likely want to explore more advanced options.

Implementing Advanced Webflow Blog Pagination with Custom Attributes

When Webflow's native webflow blog pagination isn't enough, advanced solutions offer features like "load more" buttons, infinite scroll, or numbered pages. These methods use third-party scripts and custom attributes to improve your blog, often without complex code.

Webflow blog with a numbered pagination component at the bottom - webflow blog pagination

Finsweet Attributes is a popular tool for this, offering a suite of no-code solutions that transform how Webflow Collection Lists behave, making them more dynamic and user-friendly.

Step 1: Add the Universal Attribute Script

Before using Finsweet's attributes, you must add their universal script to your Webflow project. This is a simple, one-time setup.

  1. Open your Webflow project.
  2. Go to Project Settings.
  3. Click the "Custom Code" tab.
  4. Paste the Finsweet universal attribute script into the Head Code section.

This script must be placed inside the <head> tag. Once it's in, you can use any of Finsweet's attributes across your site. You can watch a quick tutorial on script setup for a visual guide.

Step 2: Configure Your Collection List and Attributes

With the script installed, you can configure Finsweet. For the List Load attribute to work, native Webflow pagination must be enabled on your collection list. This provides the base structure that Finsweet improves.

Next, add custom attributes to your collection list and related elements:

  • On your Collection List Wrapper: Add fs-list-element with the value list. Then, add fs-list-load and choose a loading method:

    • more: for a "Load More" button.
    • infinite: for endless scrolling.
    • pagination: for advanced options like numbered pages.
  • For a "Load More" button: Add the attribute fs-list-element with the value load-more to the button.

  • For pagination buttons/numbers: For "Previous" and "Next" buttons, add fs-list-element with the value page-button. For numbered pages, apply fs-list-element with the value page-dots to the page number elements.

Enabling "Paginate Items" and "Show Page Count" in Webflow's native settings can boost loading speed. To see these modes in action, check out the View Live demo.

Choosing the Right Advanced Webflow Blog Pagination Method

How do you choose the right method for your webflow blog pagination? Each option suits different scenarios:

  • Load More Button: Best for curated lists, giving users control over how much content they see.

  • Infinite Scroll: Ideal for visual feeds like image galleries. It creates a frictionless browsing experience similar to social media apps like Instagram or TikTok. However, be cautious: infinite scroll can make it difficult for users to reach the website footer.

  • Numbered Pagination: The gold standard for article archives and Webflow Blog Categories. It offers clear navigation, allows users to jump to specific pages, and shows the scope of available content. It's predictable, reliable, and user-friendly for content-heavy blogs.

For most webflow blog pagination needs, numbered pagination offers the best balance of user experience and intuitive navigation, especially when paired with the seamless loading from tools like Finsweet.

Advanced Technique: Building Seamless Pagination with Custom Code

For more control and a bespoke experience without full-page reloads, you can use custom JavaScript with a library like PJAX (PushState AJAX). PJAX loads content without a full page reload, offering a much smoother user experience.

Image showing a code snippet for PJAX inside the Webflow Custom Code editor - webflow blog pagination

As discussed, Webflow's native pagination refreshes the entire page on click. This jarring experience disrupts the user's reading flow and forces them to scroll back down. PJAX solves this by loading the next page of items without a full refresh, preventing the jarring "blink" and maintaining the user's scroll position. The new content simply appears, creating an efficient and engaging browsing experience.

How to Implement Seamless Pagination

Implementing seamless pagination with custom code requires more technical skill but results in a superior user experience for your webflow blog pagination. The method intercepts clicks on pagination links, using JavaScript to load new content into the existing page structure and update the URL without a full refresh.

Here's a simplified breakdown of the steps:

  1. Add the PJAX script to your project. Include the PJAX library (e.g., jQuery.pjax) in the "Before tag" section in your Page or Project Settings. This ensures the script can manipulate your page elements.

  2. Assign custom IDs to your collection list wrapper (e.g., seamless-replace) and its pagination wrapper (e.g., w-pagination-wrapper). PJAX uses these IDs to know which parts of the page to update.

  3. Initialize the script with a small JavaScript snippet. This tells PJAX to listen for clicks on your pagination links and, when a click occurs, load the new content into your designated container.

  4. Re-initialize Webflow interactions (IX2) on the newly loaded content. Since interactions are initialized on the initial page load, they won't apply to content loaded via PJAX. A small script is needed to re-trigger them, ensuring animations and effects continue to function correctly.

This advanced technique transforms your webflow blog pagination into a fluid, continuous browsing experience. For a detailed guide, Check out this tutorial on how to create a seamless pagination experience.

SEO and Performance Best Practices for Pagination

Implementing webflow blog pagination affects both SEO and site performance. As experts in Webflow SEO, we know pagination setup impacts how search engines crawl content and how quickly pages load. It's like creating a clear map for users and Google.

Image of a diagram showing how rel="next" and rel="prev" link a series of paginated pages for search engines - webflow blog pagination

Indexing Paginated Content

Search engines are smart about understanding paginated content, following links from one page to the next. A big win for SEO is that Webflow's pagination automatically creates unique URLs for each collection list page (e.g., yourblog.com/posts?page=2). This allows each page to be indexed independently and shared directly.

The Role of rel="next" and rel="prev"

The rel="next" and rel="prev" attributes historically signaled the relationship between paginated pages to search engines. While Google announced in 2019 they no longer use these for indexing, many SEOs still consider them a good practice for signaling page relationships to crawlers. For more context, see Google's Webmaster blog: Indicating paginated pages with rel=“next” and rel=“prev”. Webflow doesn't add these automatically, so a custom solution is needed.

Page Load Speed

Pagination is crucial for performance. Page load speed is vital for both user experience and SEO. Loading a single page with hundreds of posts would be incredibly slow. Pagination solves this by breaking content into smaller chunks (e.g., 10-20 posts per page), which significantly reduces data transfer and leads to faster load times. This is why Webflow defaults to a 100-item limit per page.

Optimizing Items Per Page

You can customize how many items appear on each page in your webflow blog pagination settings. For a blog, 10 to 20 posts per page is often a sweet spot. This provides enough content for browsing without being overwhelming and keeps load times fast. To ensure your strategy is effective, regularly check your site's speed with tools like Google PageSpeed Insights and tweak your settings as needed.

Frequently Asked Questions about Webflow Pagination

Here are answers to common questions about Webflow blog pagination.

Why are my pagination buttons not showing up?

If your "Previous" and "Next" buttons are missing, the most common reason is that your CMS collection doesn't have enough items to require pagination. For the buttons to appear, your collection must contain more items than your "Items per page" setting. For instance, if you set it to 10 items per page but only have 8 posts, there is no second page, so the buttons are hidden. Ensure your collection has enough content and that the 'Paginate items' checkbox is selected.

Can I create numbered pagination (e.g., 1, 2, 3...) in Webflow without code?

Webflow's native system doesn't support numbered pages. However, you can achieve this with third-party solutions like Finsweet Attributes. By adding a script and custom attributes to your elements, you can implement numbered pagination without writing JavaScript yourself, changing the basic buttons into a full-fledged system.

How do I stop the page from reloading when I click "Next"?

Webflow's native pagination buttons cause a full page reload, which can feel clunky and disrupt the user's scroll position. This is not ideal for a Webflow blog pagination experience. To prevent this and create a seamless experience where content loads without a full refresh, you have two main options:

  1. Custom Code (PJAX): Implement a custom JavaScript solution using a library like PJAX. This advanced technique loads the next page of items without refreshing the whole page, creating a fluid browsing experience.
  2. Third-Party Tools: Use tools built for Webflow, such as Jetboost, that offer advanced "Seamless Pagination" features. These tools handle the complex code, making it easier to implement smooth content loading.

Both methods keep users on the same page while dynamically loading new content, providing a much smoother interaction than a full page reload.

Conclusion

We've covered Webflow blog pagination from simple clicks to advanced code. It's clear that organizing blog content is crucial for user experience and Webflow Blog Optimization.

We reviewed Webflow's straightforward built-in system, explored powerful attribute-based solutions like Finsweet for "Load More" buttons and numbered pagination, and detailed how custom code with PJAX can create a seamless experience by preventing page reloads.

At Matthew John Design, we specialize in building Webflow sites with scalable systems and reusable components. This empowers your internal marketing team to manage content easily without a developer. Implementing smart Webflow blog pagination is a perfect example of how we improve interactivity and streamline content management.

Whether you choose Webflow's native system, attribute-based solutions, or custom code, mastering pagination is key to a well-organized, user-friendly blog that keeps readers engaged.

If you're ready to improve your blog's performance and user experience, we're here to help. Get expert help with your SEO content strategy and let's make your blog shine.

Relume Library AI Site Builder
Table of contents

Website Management

Enjoy ongoing design, development, and quality assurance for one website, whether it be a brand new or already existing build.

SEO Content & Links

Boost your search engine traffic and rankings with our content-focused SEO packages that attract and engage your target audience.